| MTH REALTRAX / 40-1021 - 0-72 LH Remote Switch | ||||
The following is my first experience with one of MTH's Realtrax switches.So I also got 2 MTH 40-1011 RealTrax to Tubular O Adapter Sections to tie this switch into my Lionel track.Got everything unpacked, connected into the existing track and the remote connected. Turned the power on and immediate click hard to the curve(Red) side and would not budge from there. The remote would not activate the switch in the opposite(Green/striaght) position. Holding the remote lever over caused the thermal switch to trip. Manually turning the lamp cover on the solenoid modual did the same thing. I know the old Lionel switches were meant to be momentary power to one or the other coil. With this in mind, the solenoid modual getting warm and the inability to change positions I knew something was wrong. Shorted wires were the first thought so I went through the remote and all looked fine. Next came the solenoind modual looking to see if any of the magnet wires were shorting against the traces. Then came opening the underside of the switch... Nothing was shorted and overall I would say this is a well constructed part. Looking at how and where the rails were bonded together and gave some clues as to what wasn't supposed to be electrically connected. The outter most outside rails are strapped together underneith the switch and all the center rails are strapped or wired together. The outter rails in the crotch of the switch however are not tied to each other or any of the other outter rails. After taking pictures of everything I put the cover back on, put the switch back in the layout, removed the power jumper and connected accessory power. The thinking here was that maybe the 18V from the track is too much (it's not there's a 10V minimum required) and the same behavior continued. I took the switch out of the layout, kept accessory power connected and the switch worked fine! Ok something with how this switch is connected to the layout is causing problems. I had also connected track power to the siding attached to the switch. Maybe that was the problem (nope). I also had an engine sitting on the siding maybe that was causing the problem (removing it stopped the problem). Ok trains are supposed to be on the rails on the siding what's wrong? Attaching tubular track to the siding brough the problem right back. (this ties the outter and inner outside rails together) Nothing looked out of place on the topside of the switch so I removed it and took a second look at the bottom. Without even taking the cover off the next clue was visually aparent. The inner outside rails have no contacts underneith implying that they should have no contact with the rest of the rails. When I put the switch back in the layout it was very clear. The straight rail was slightly shorter so it wouldn't touch and the curved one was still long enough to touch on top. A quick fix with a file and now the switch works fine on accessory and track power! |
||||
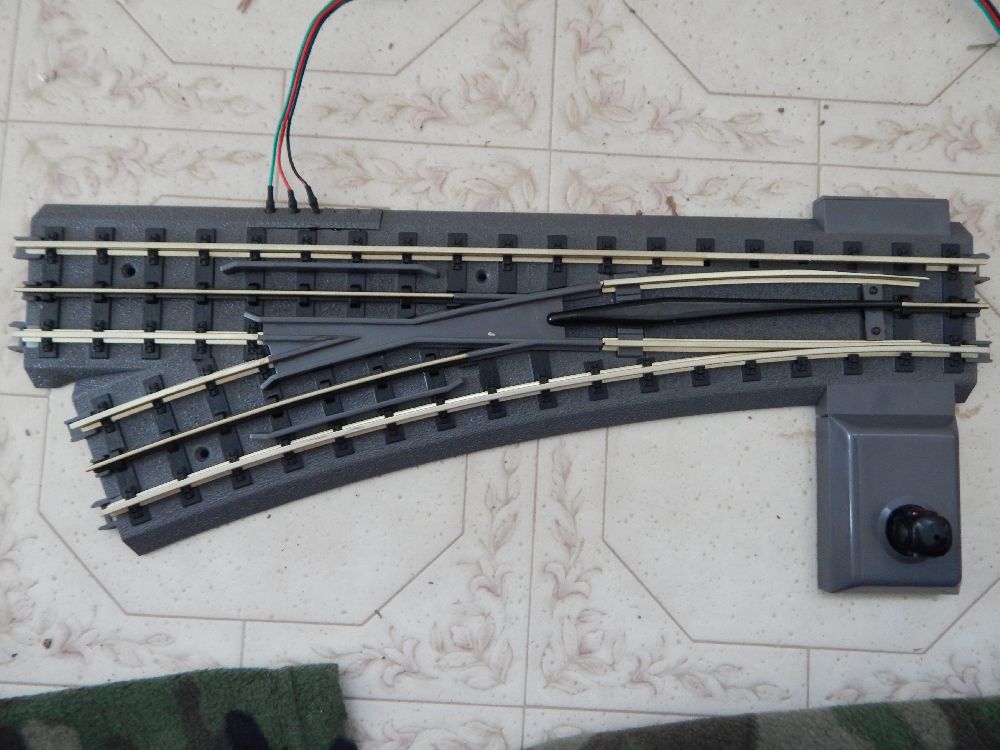 top of switch |
 opened bottom of solenoid mechanism |
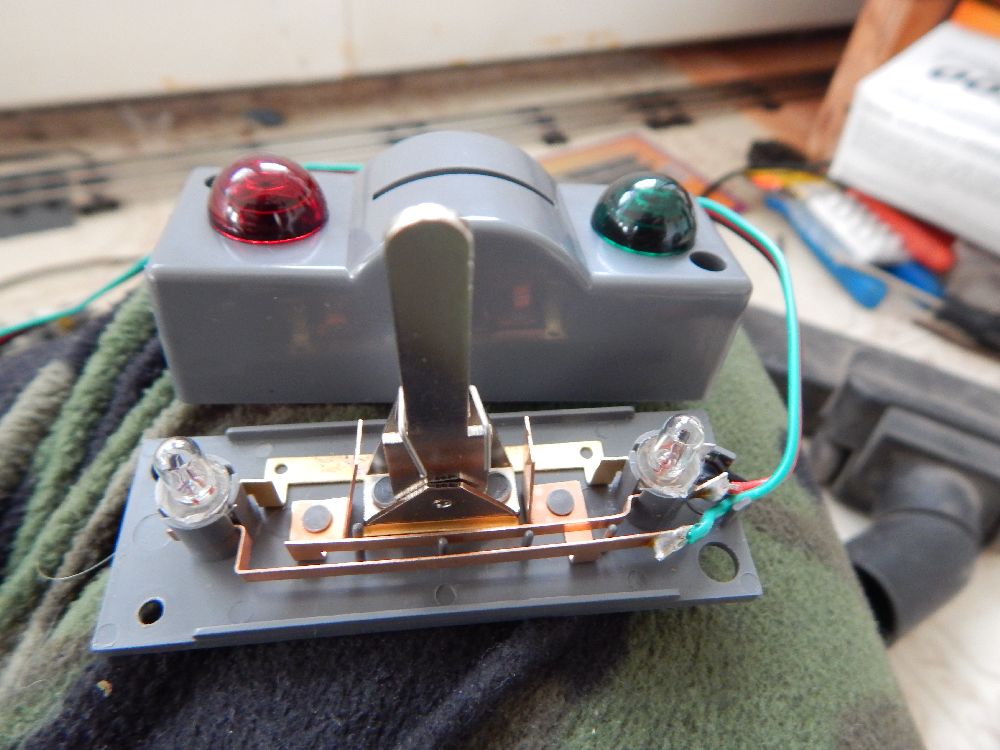
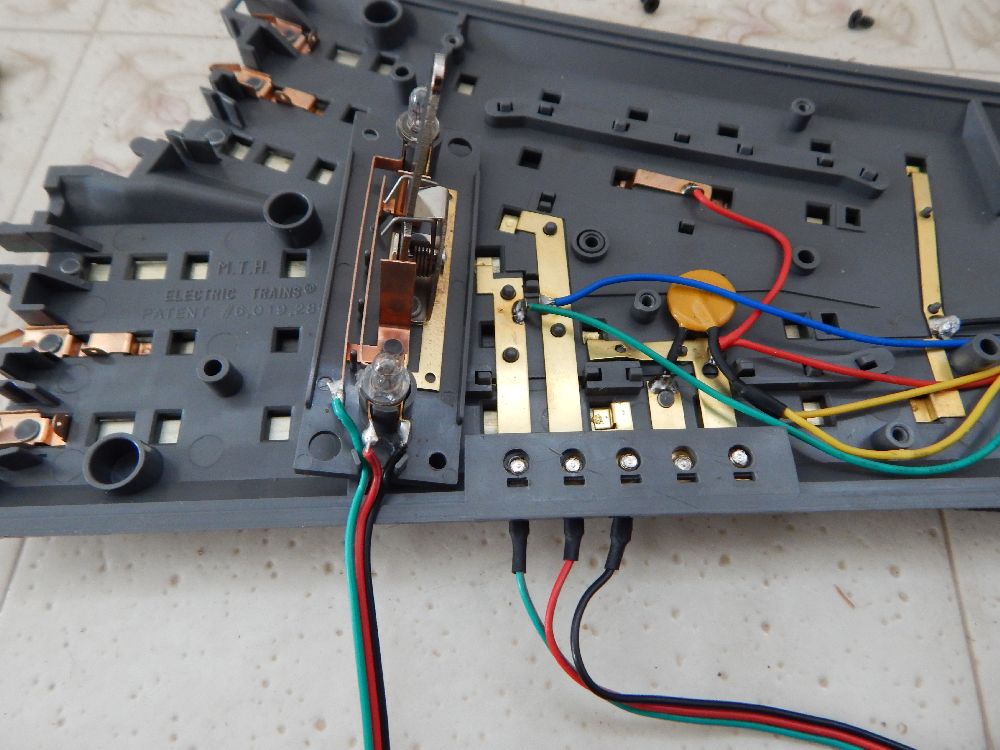
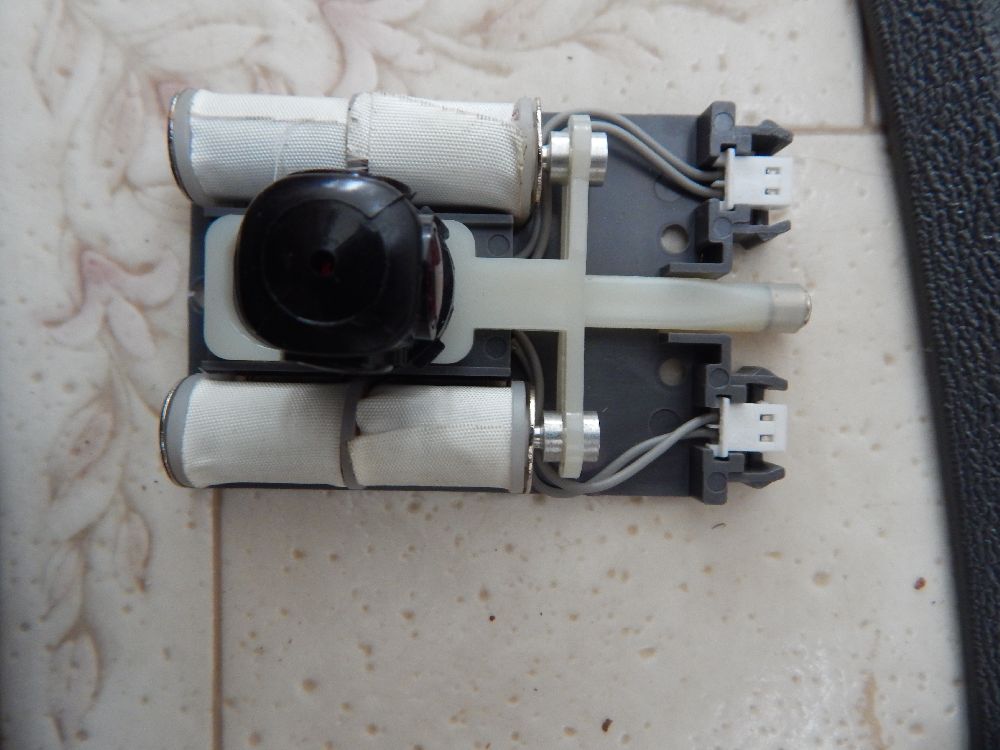 top of opened solenoid mechanism |
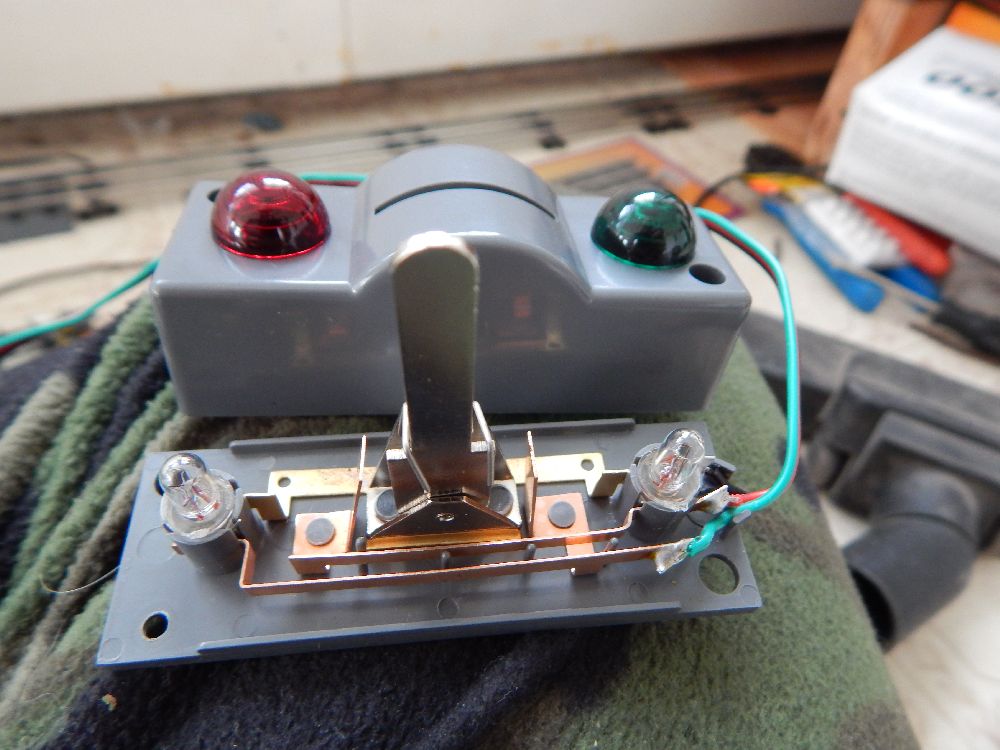
 top of opened solenoid mechanism |
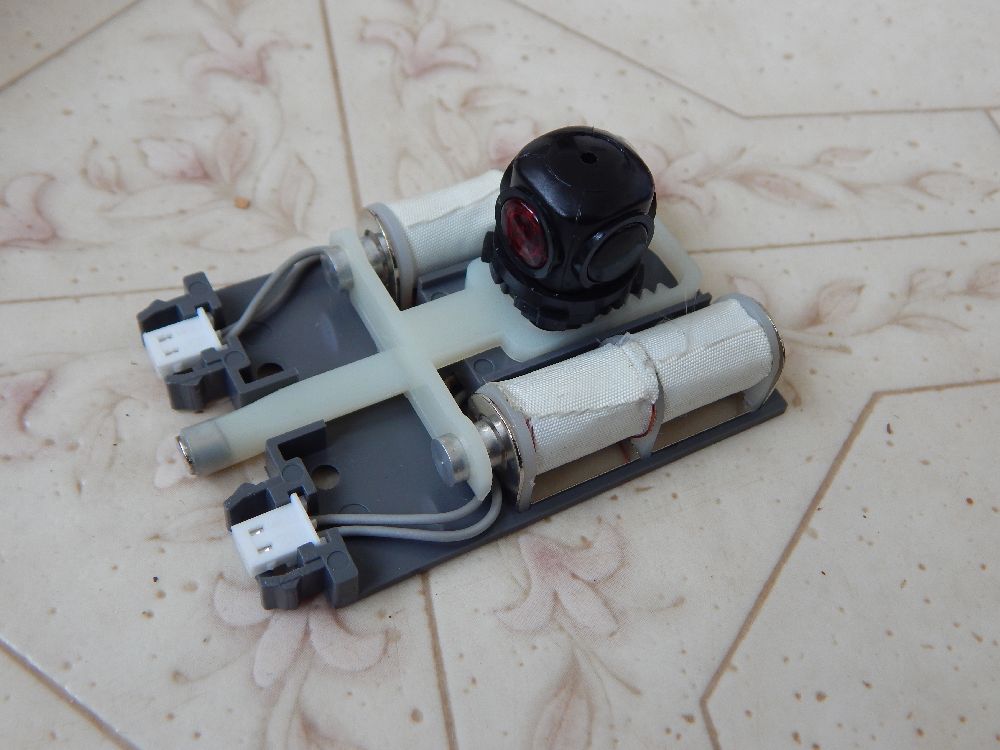
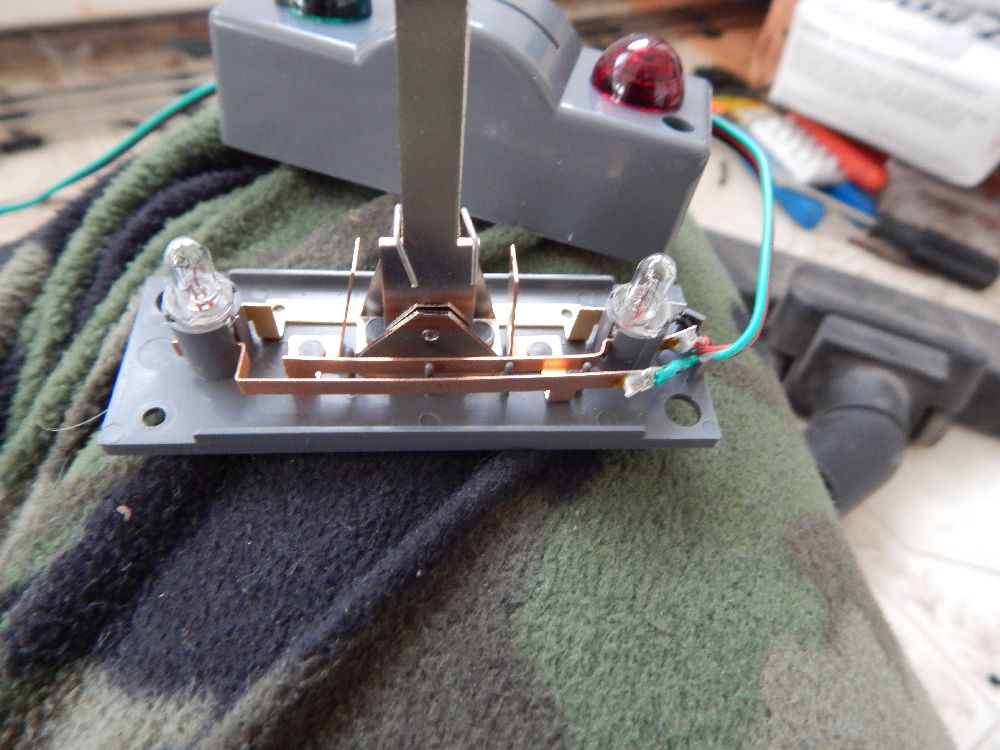
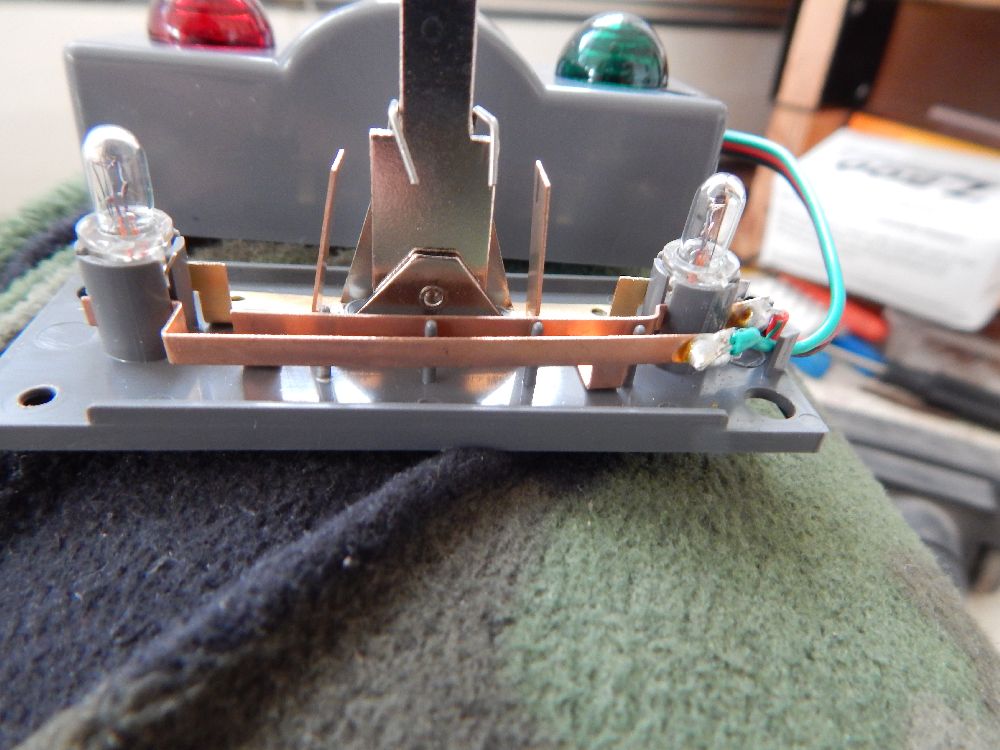
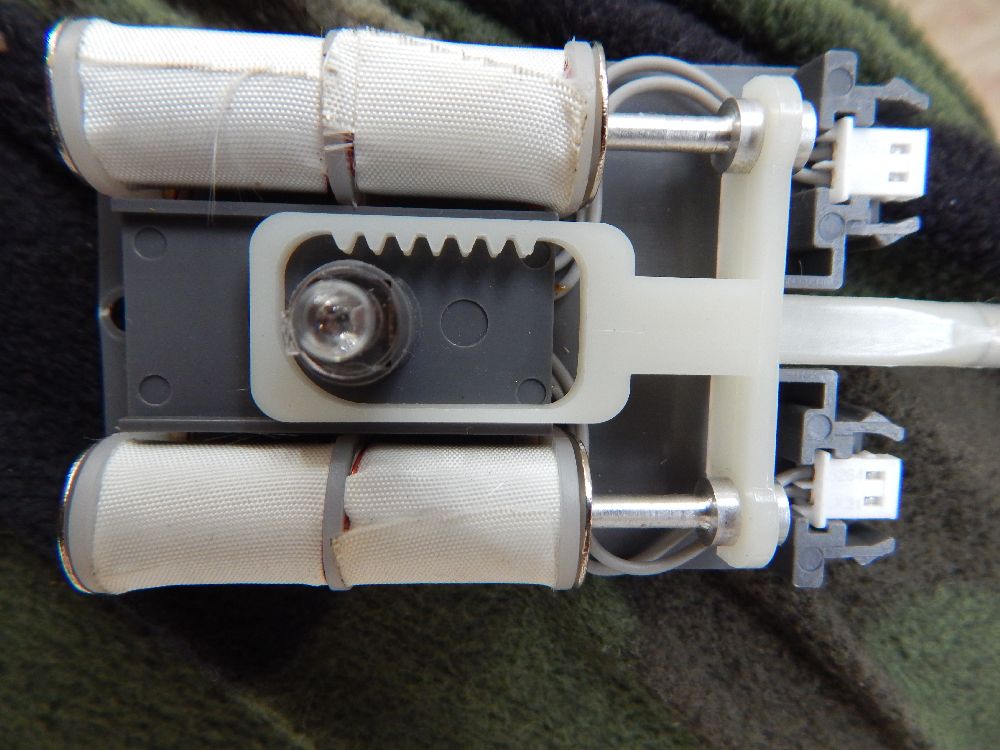 closeup top of opened solenoid mechanism plunger extended no lamp cover |
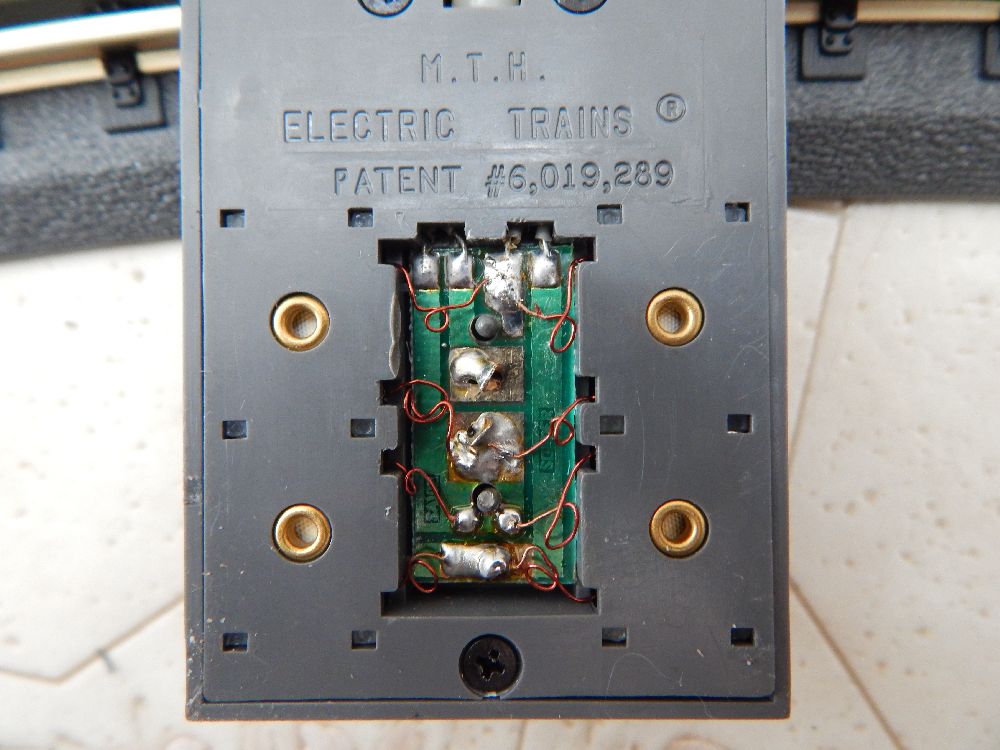
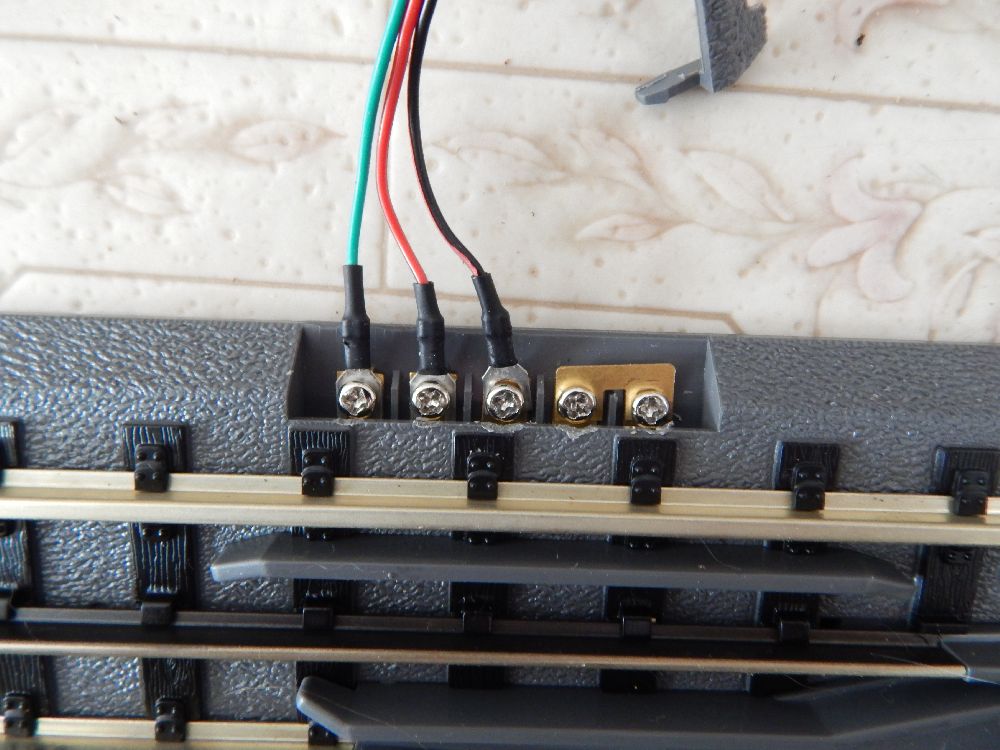 switch side terminal uncovered |
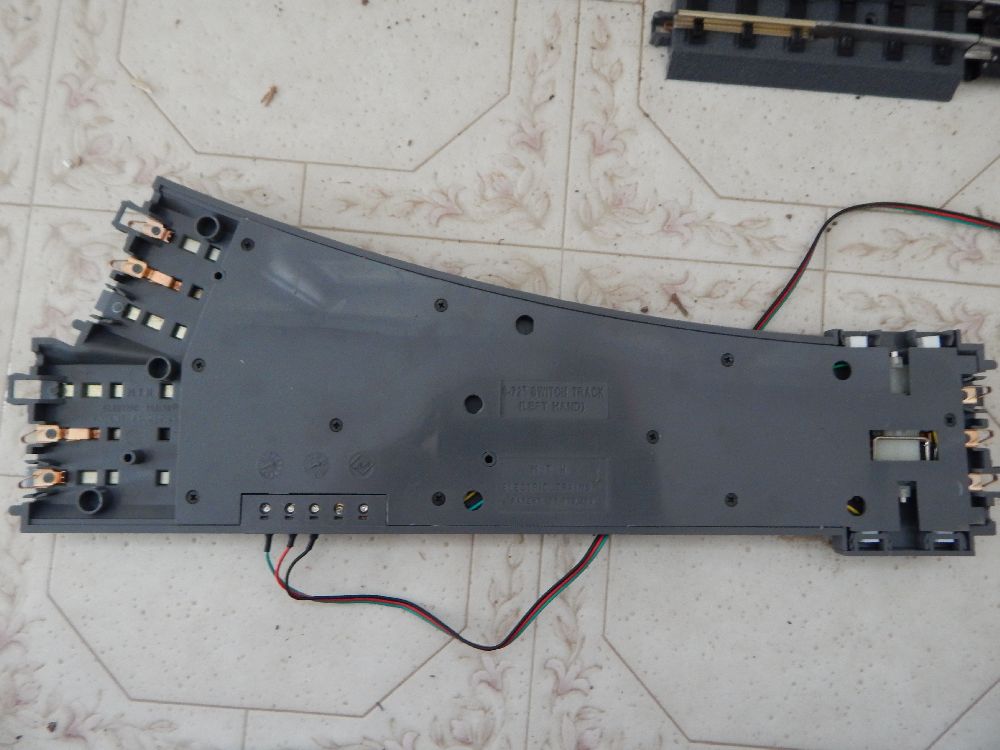 covered bottom of switch lack of contacts on inner outside rails can be seen |
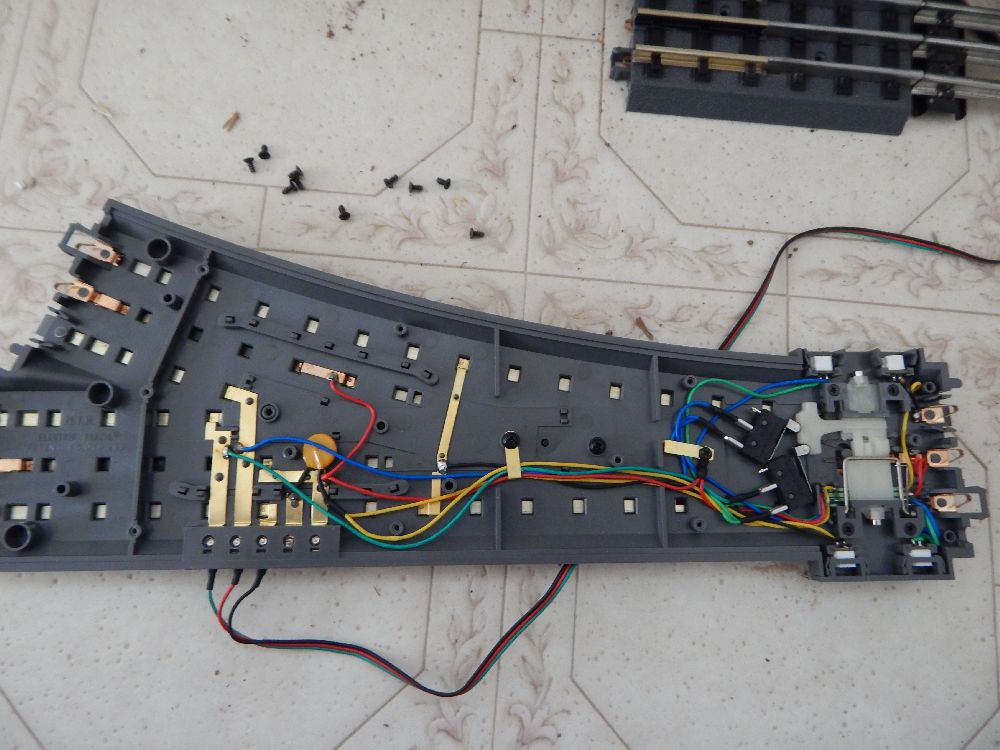 open bottom of switch |
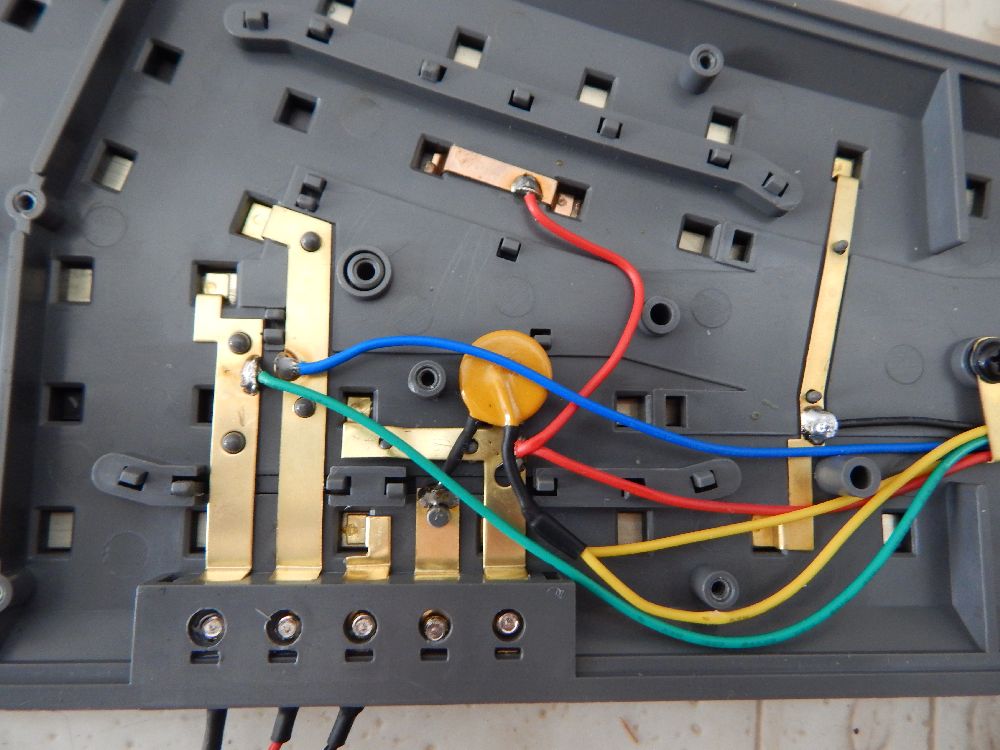 detail of underside of side terminal |
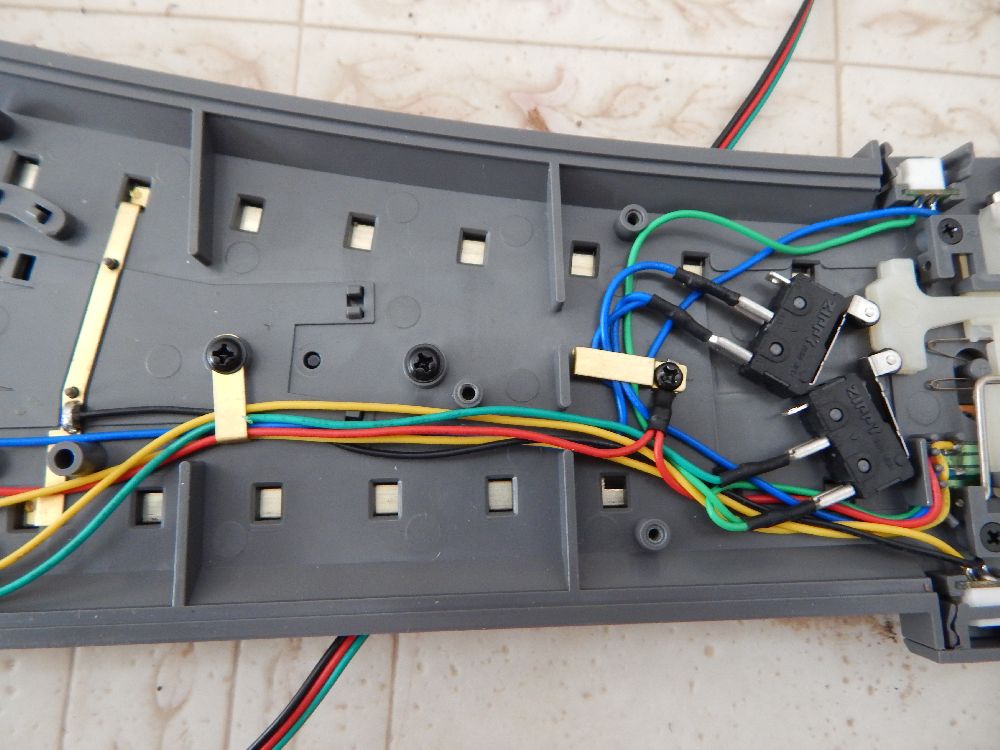 detail of harness from side terminal to limit switches |
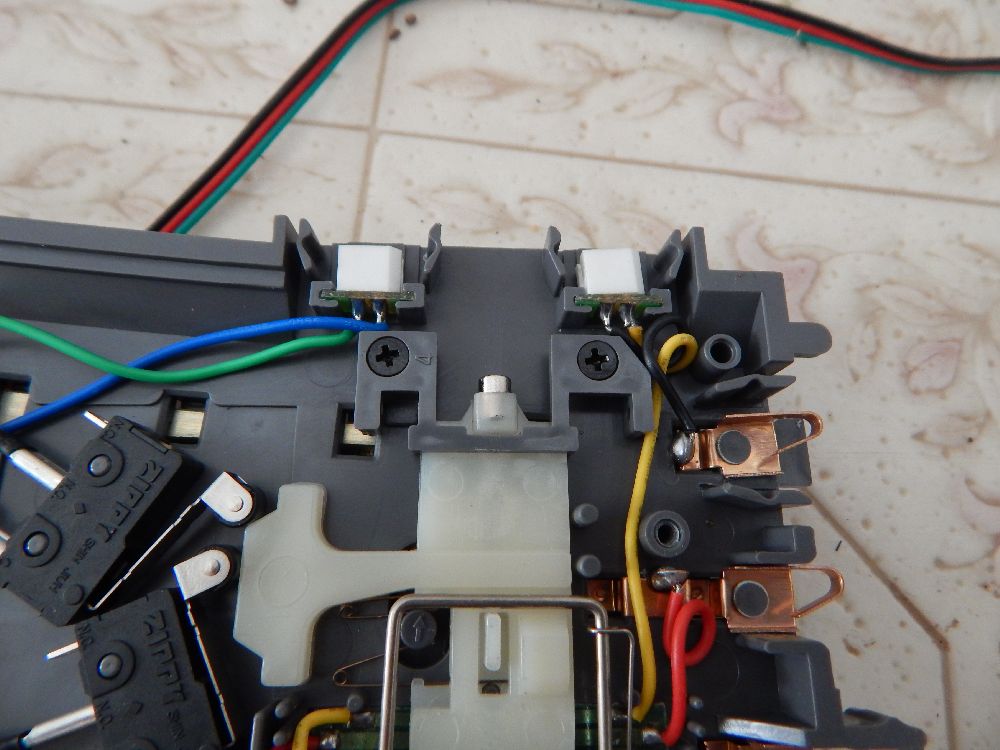
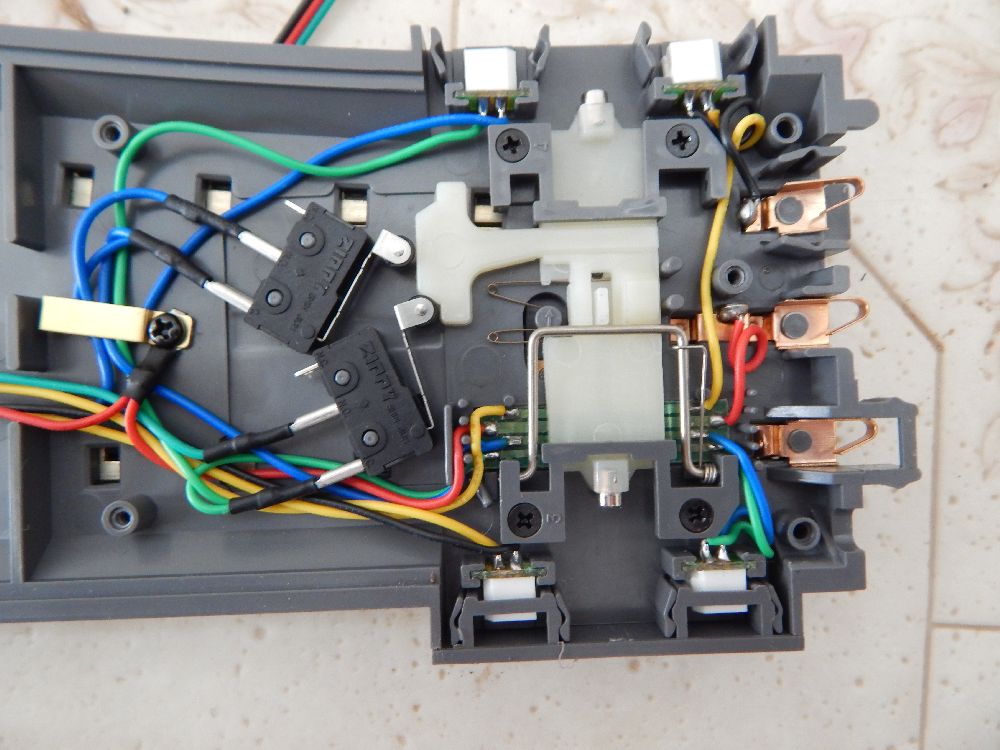 detail of limit switches and shifter switched to straight |
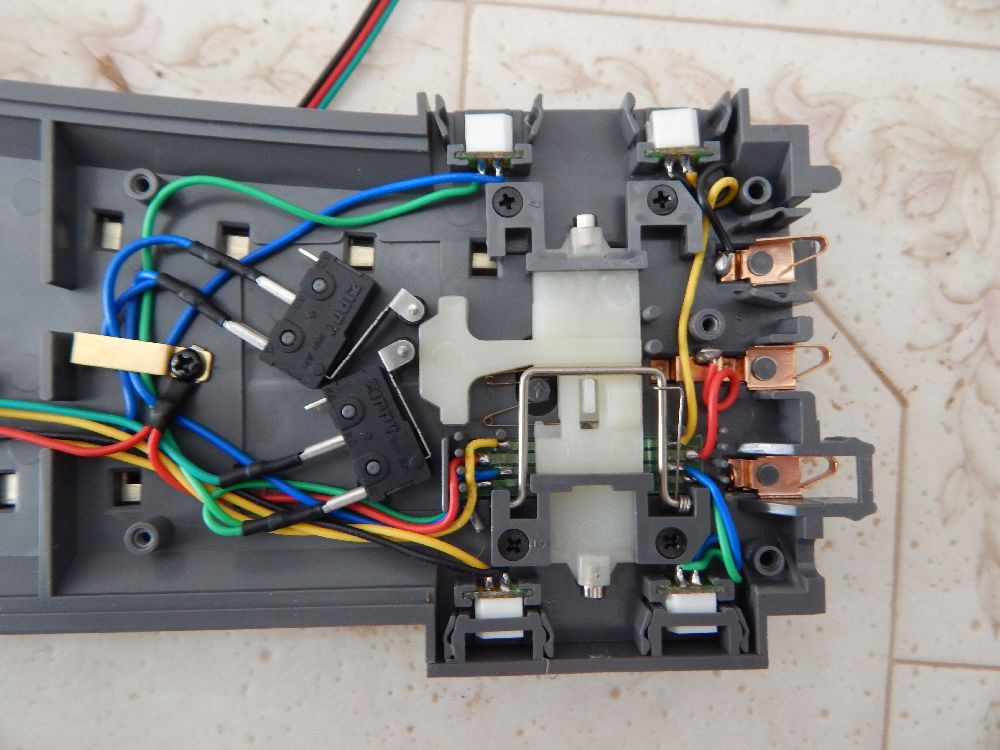 detail of limit switches and shifter switched to curve |
 detail of curve side connectors to soleniod assembly |
 detail of straight side connectors to soleniod assembly with cover installed |
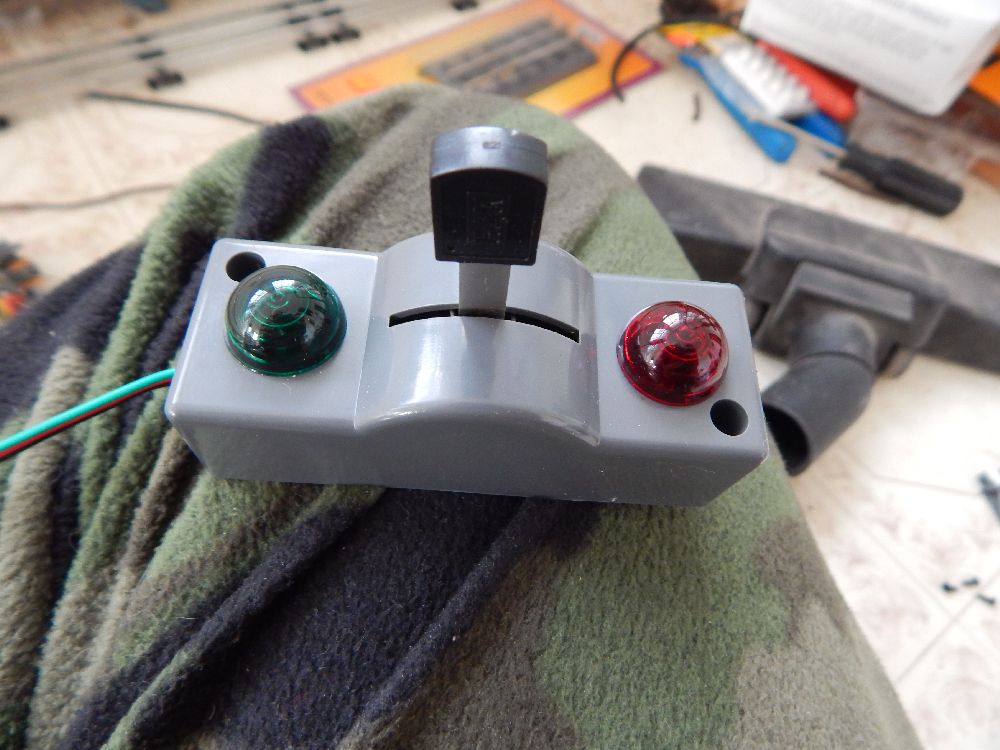 hand operated switch toggle |
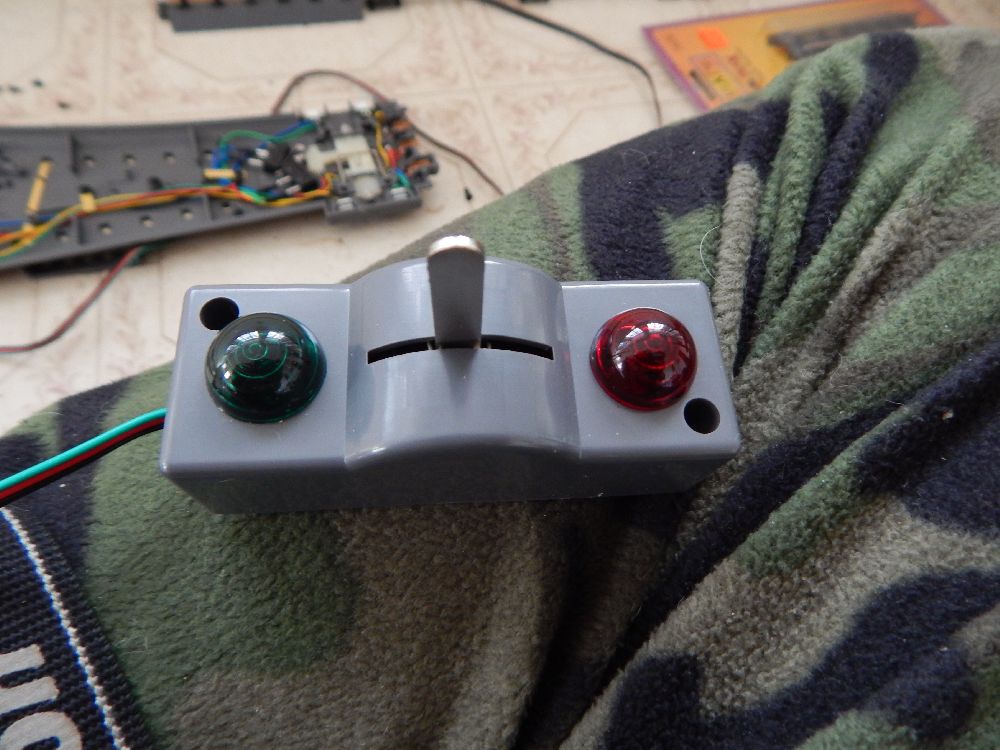 hand operated switch toggle with knob removed |
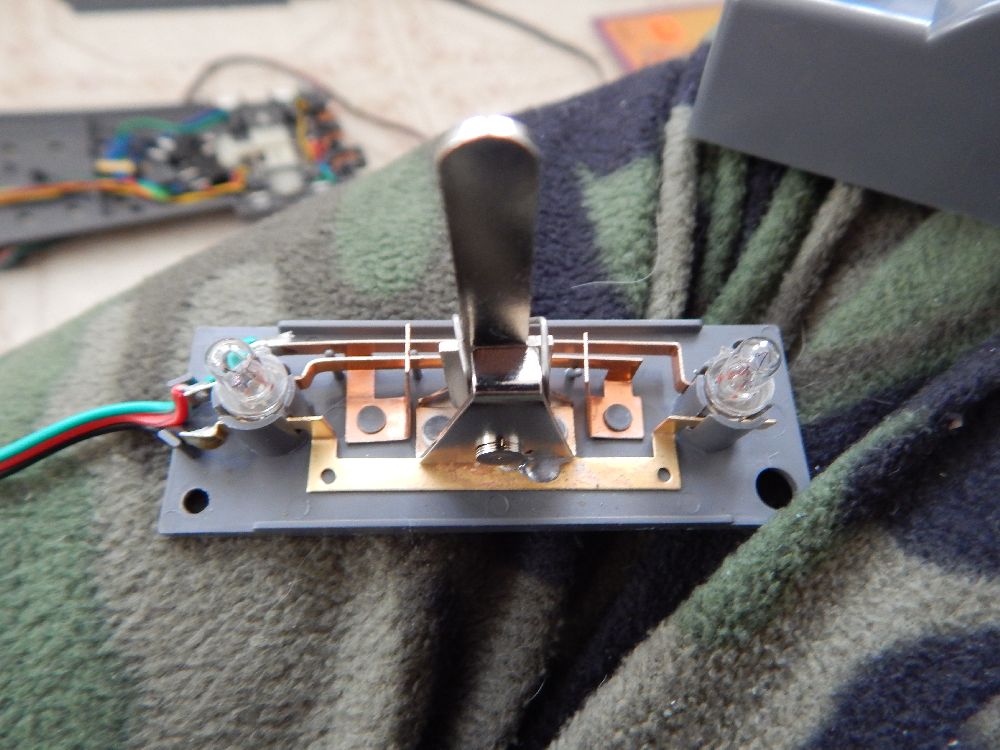 hand operated switch toggle with cover removed |
 hand operated switch toggle with cover removed |
 hand operated switch toggle with cover behind |
 hand operated switch toggle with cover behind |
 hand operated switch toggle with cover behind |
 open bottom of switch with open toggle switch |
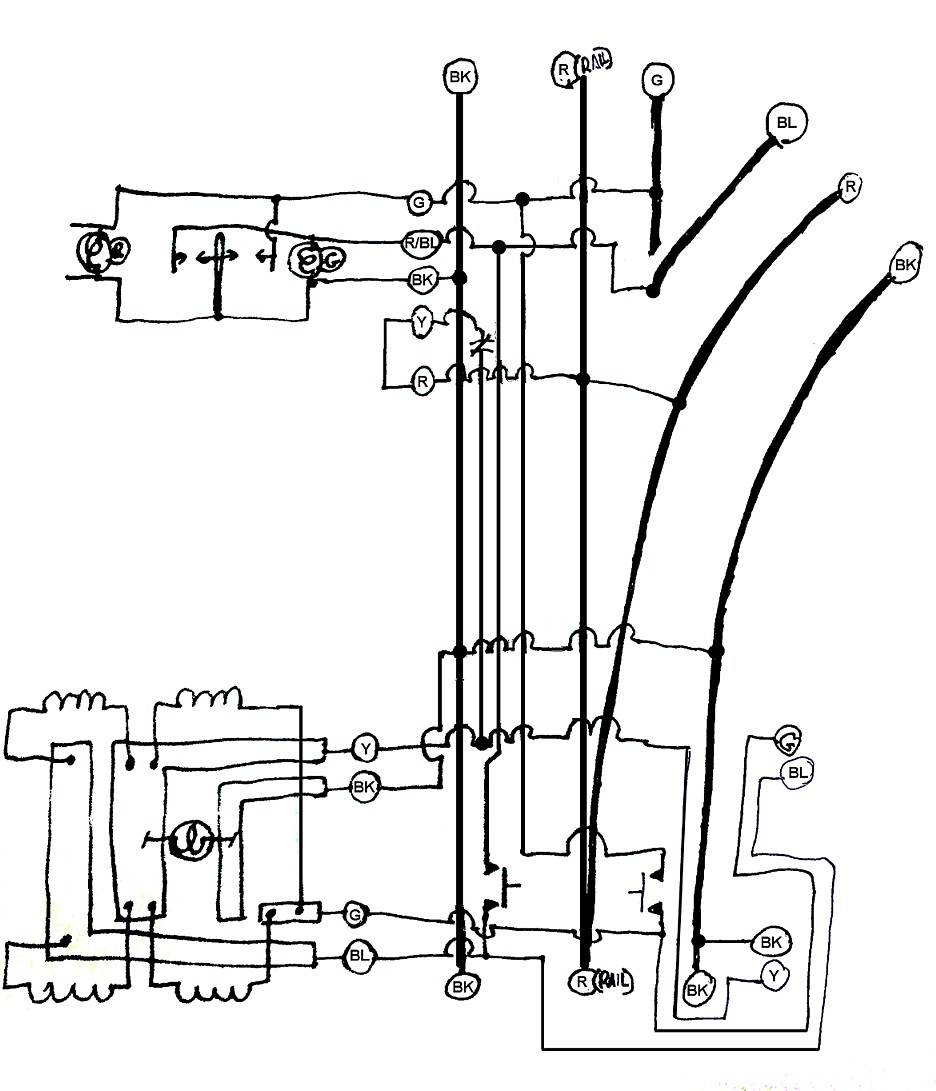 switch wiring diagram |
||